Video-call is one of the wonders of technology. I mean seeing the person one is talking to in real-time is just mind-blowing 🤯.
Sometimes I feel like programming is a form of magic because the way this could have been possible would have been through the use of a magical mirror ✨or so, but thanks to technology here we are 😎.So today we would be building a simple video-call app using Flutter and Agora.
What is Flutter?
Flutter is a programming language used to develop cross-platform applications (applications that can run on multiple operating systems).
And Agora 😕?
Agora is a real-time communication system that makes the development of real-time communication applications easy, thus eliminating the stress involved in developing a real-time communication app, you can visit their website www.agora.io/en/ to learn more about them.
Now let's get to work, shall we? 🔨
Our app would have the most basic function of a video-call app which is two visual views showing the caller and the receiver. For this project we would need two packages there are
- permission_handler: to request access for media functions of a mobile device, for example, permission to use the camera, microphone and so on.
- agora_rtc_engine: to have access to the inbuilt methods and functions of the Agora SDK to allow for real-time communication in our app.
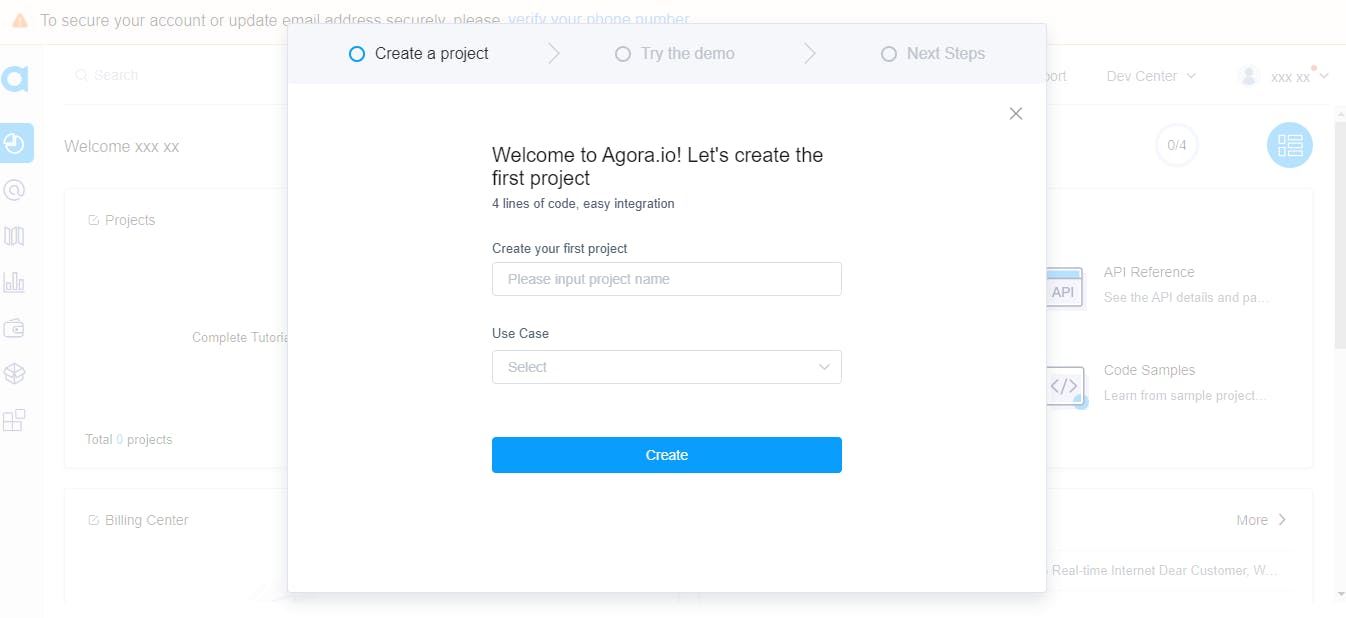
After signing up and all you should see this, now let's create a project you could choose whatever name since it's not a production app, so I would call my project
basic app. For the use case, I chose social/Live stream.
📌NB: whatever use case you choose, it really won't matter as all use-cases allow for video streaming.
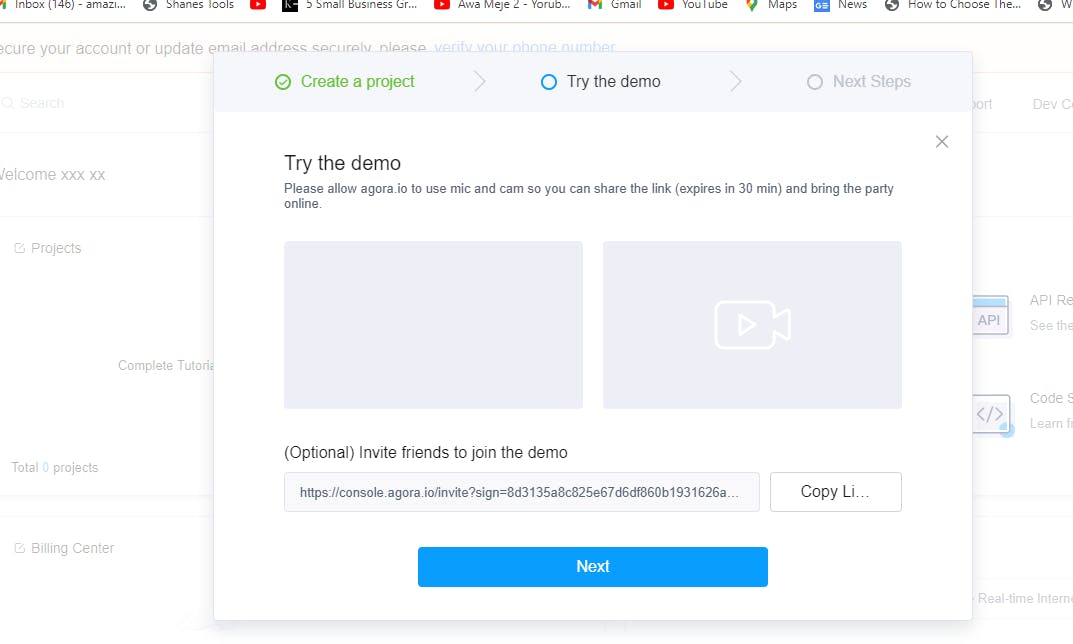
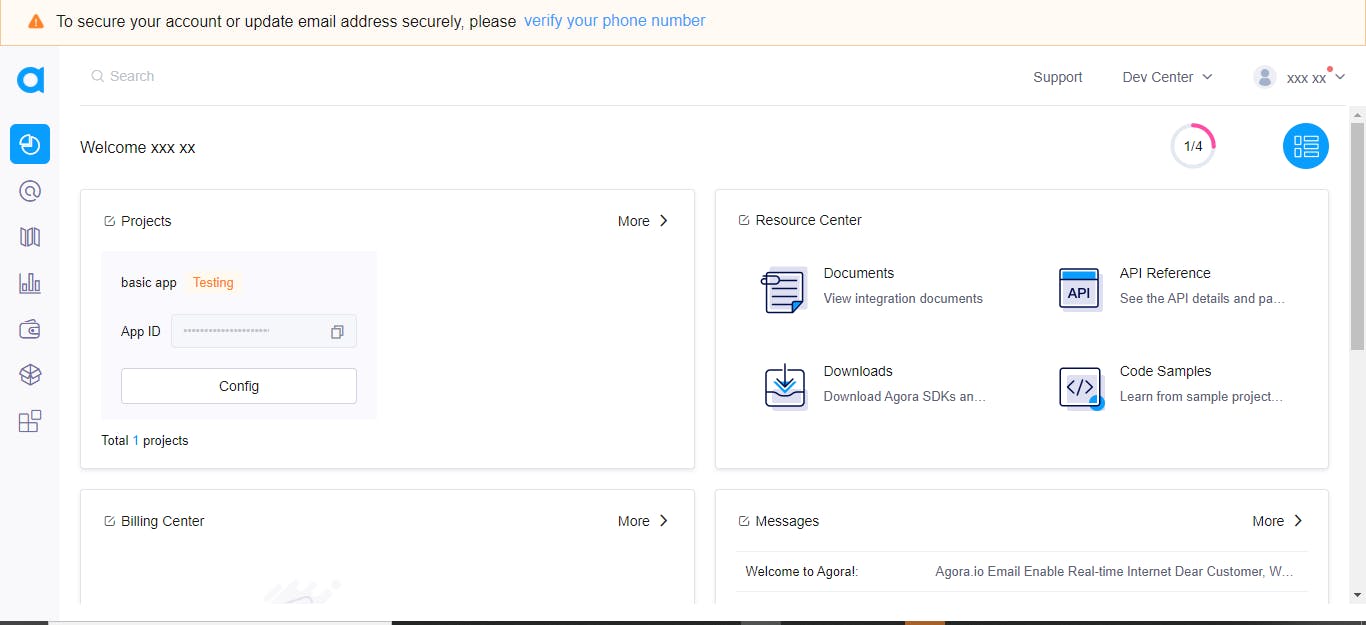
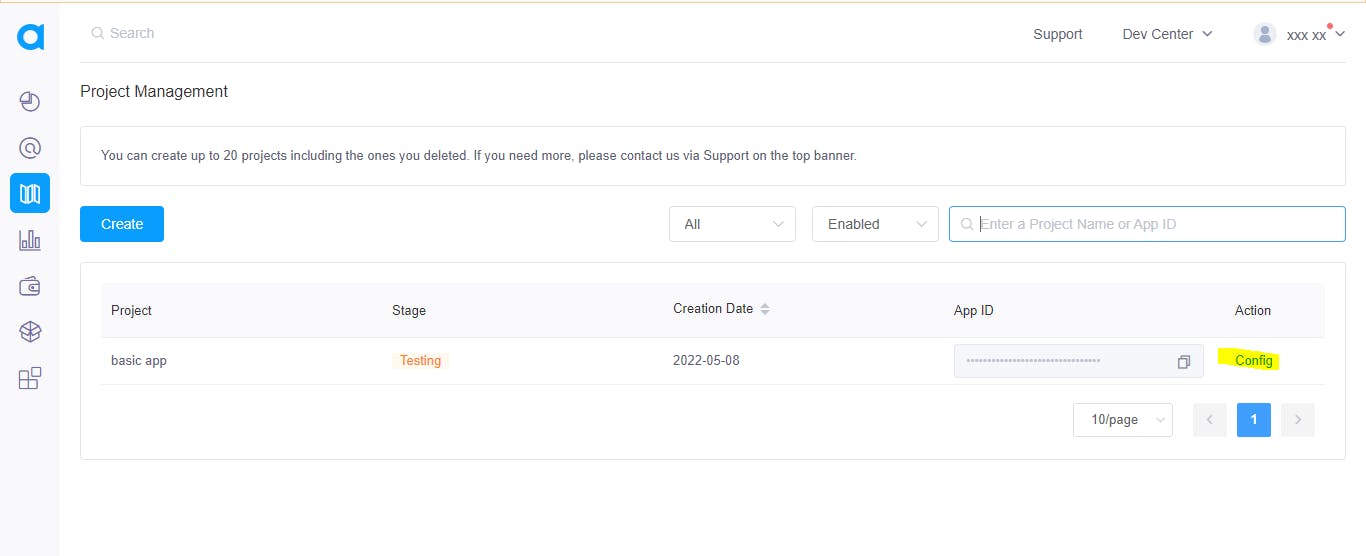
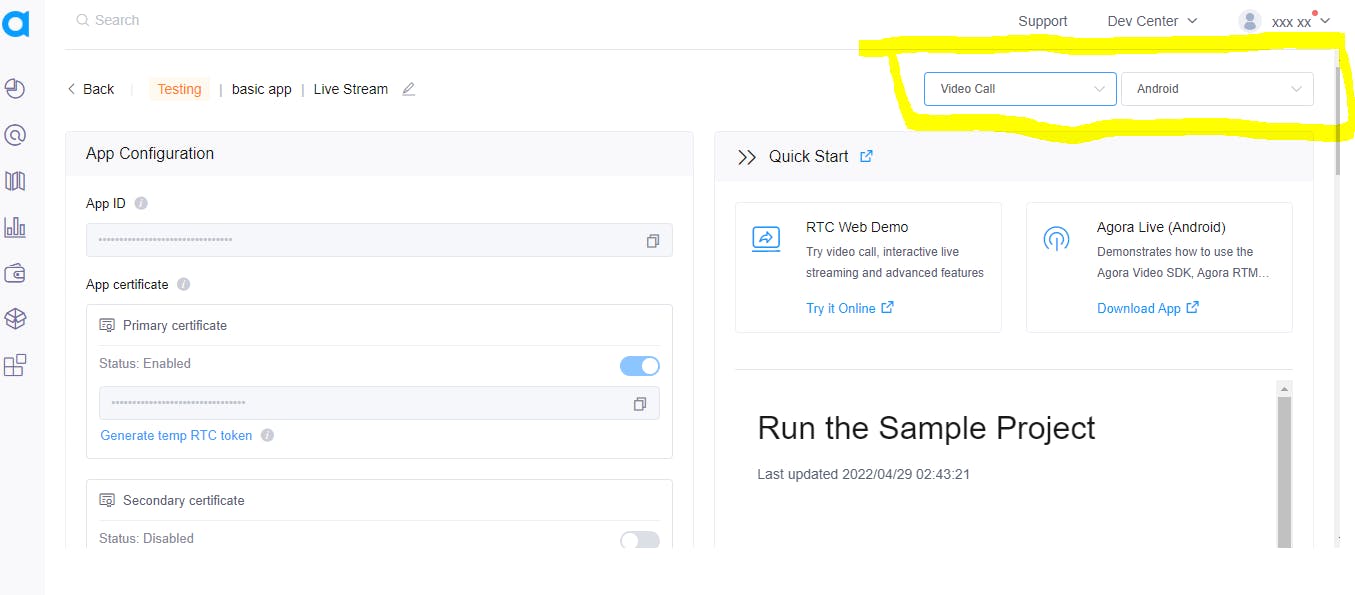
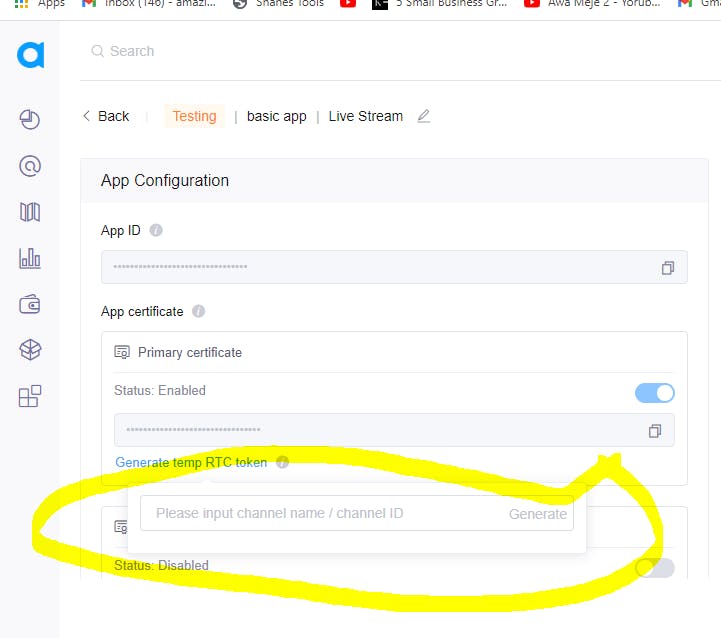
Clicking on Generate temp RTC token should show a pop up like this 👇

Let's write some Code, Shall we? 👨💻
let's import the following into our main.dart file. Remember the token, channel name and appId from the Agora RTC platform right? we would create string variables for these data as well
📌 Do not attempt to use my token, and appId it won't work. Tokens and IDs are unique to projects.
import 'dart:math';
import 'package:flutter/material.dart';
import 'package:agora_rtc_engine/rtc_engine.dart';
import 'package:agora_rtc_engine/rtc_local_view.dart' as RtcLocalView;
import 'package:agora_rtc_engine/rtc_remote_view.dart' as RtcRemoteView;
import 'package:permission_handler/permission_handler.dart';

const token =
    "00676ed95f80d184068bb99f765bf181af9IAANaYw7ifjwHn5XAr1ssXmh6zDp3yeGvJRjMatLbnvVa1pH9K4AAAAAEADKF8m8qyZpYgEAAQCrJmli";
const appId = "76ed95f80d184068bb99f765bf181af9";

const channel = "secondchannel";
From the agora_rtc_engine we import rtc_local_view and rtc_remote_view to serve
for the views of the caller and the receiver, rtc_local_view for the caller and rtc_remote_view for the receiver. And I name them RtcLocalView and RtcRemoteView respectively.
Next, we would create a main method like 👇
void main() => runApp(const MaterialApp(
      home: MyApp(),
      debugShowCheckedModeBanner: false,
    ));
Here I create a MaterialApp, to know more about the MaterialApp class visit
https://api.flutter.dev/flutter/material/MaterialApp-class.html. Also, I make my debugShowCheckedModeBanner false and my home is called myApp which is a stateful widget.
Now let's create myApp, shall we 😎?
class MyApp extends StatefulWidget {
  const MyApp({Key? key}) : super(key: key);

  @override
  State<MyApp> createState() => _MyAppState();
}
And in my _MyAppState() I do 👇
class _MyAppState extends State<MyApp> {
  int? _remoteUid;
  RtcEngine? _engine;

  @override
  void initState() {
    super.initState();
    initForAgora();
  }
Here I create an integer variable called remoteUid and a RtcEngine variable called _engine. remoteUid is supposed to cater for the id generated for the receiver whenever they join a call, while the _engine would allow us to have access to all of Agora's in-built methods that would enable us to develop a hitch-free application.
Also I create an initState for a function called initForAgora(), now let's create initForAgora() 🔨
 Future<void> initForAgora() async {
    await [Permission.microphone, Permission.camera].request();

    //initialize engine
    _engine = await RtcEngine.createWithContext(RtcEngineContext(appId));
    await _engine?.enableVideo();

    _engine!.setEventHandler(RtcEngineEventHandler(
      joinChannelSuccess: (channel, uid, elapsed) {
        print('local user $uid joined');
      },
      userJoined: (uid, elapsed) {
        print('remote user $uid, joined');
        setState(() {
          _remoteUid = uid;
        });
      },
      userOffline: (uid, reason) {
        print('remote user $uid left channel');
        setState(() {
          _remoteUid = null;
        });
      },
    ));
    await _engine?.joinChannel(token, channel, null, 0);
  }
initForAgora() is a future class of an asynchronous function that does the following
- await [Permission.microphone, Permission .camera ].request() : this request for permission to have access to a device microphone and camera.
- _engine = await RtcEngine.createWithContext(RtcEngineContext(appId)) : awaits the RtcEngine to create with context of RTCEngineContext and it takes a string data appId
- await _engine?.enableVideo(): this await the _engine to enable video (subject to granting camera permission on a mobile device ).
Now to some event handlers 🧰
From the code snippet above we set an event handler to handle the following
- joinChannelSuccess: to check if the receiver joins the call successfully
- userJoined: a setstate method for the remote user/receiver when they successfully join the call
- userOffline: a setstate method for the remote user/receiver when they successfully leave the call
- await _engine?.joinChannel(token, channel, null, 0): to allow a remote user/receiver to join a call after the parameters are met, where channel and token are the string data we created earlier.
Now let's design the app 🖌️
Like I said it's a simple application, so the design is pretty basic. of course, you can play around with the design as you wish but I did this 👇
 @override
  Widget build(BuildContext context) {
    return Scaffold(
      appBar: AppBar(
        title: const Text('Agora Video App'),
      ),
      body: Stack(
        children: [
          Center(
            child: _renderRemoteVideo(),
          ),
          Align(
            alignment: Alignment.topLeft,

            child: Container(
              width: 100,
              height: 100,
              child: Center(
                child: _renderLocalPreview(),
              ),
            ),
          )
        ],
      ),
    );
  }
So I used a scaffold widget and gave the app bar a title. For the body, I used a stack widget with a centred child called _renderRemoteVideo() and I also aligned to the top left of the screen a container with a child called _renderLocalPreview().
What is _renderRemoteVideo() and _renderLocalPreview() ?🤨
These are two methods to handle the view of the caller and the receiver, check out the code snippet below
 //Local/Original User Video
  Widget _renderLocalPreview() {
    return Transform.rotate(
      angle: 90 * pi / 5,
      child: const RtcLocalView.SurfaceView(),
    );
    // return const RtcLocalView.SurfaceView();
  }

//Remote/Reciever User Video
  Widget _renderRemoteVideo() {
    if (_remoteUid != null) {
      return RtcRemoteView.SurfaceView(uid: _remoteUid!, channelId: channel);
    } else {
      return const Text(
        'Please wait for remote user to join',
        textAlign: TextAlign.center,
      );
    }
  }
📌 For the _renderLocalPreview() the view on a mobile phone/ emulator might be a bit slanted, you can play around with the angle to get a perfect fit.
At this point, your app should look like this
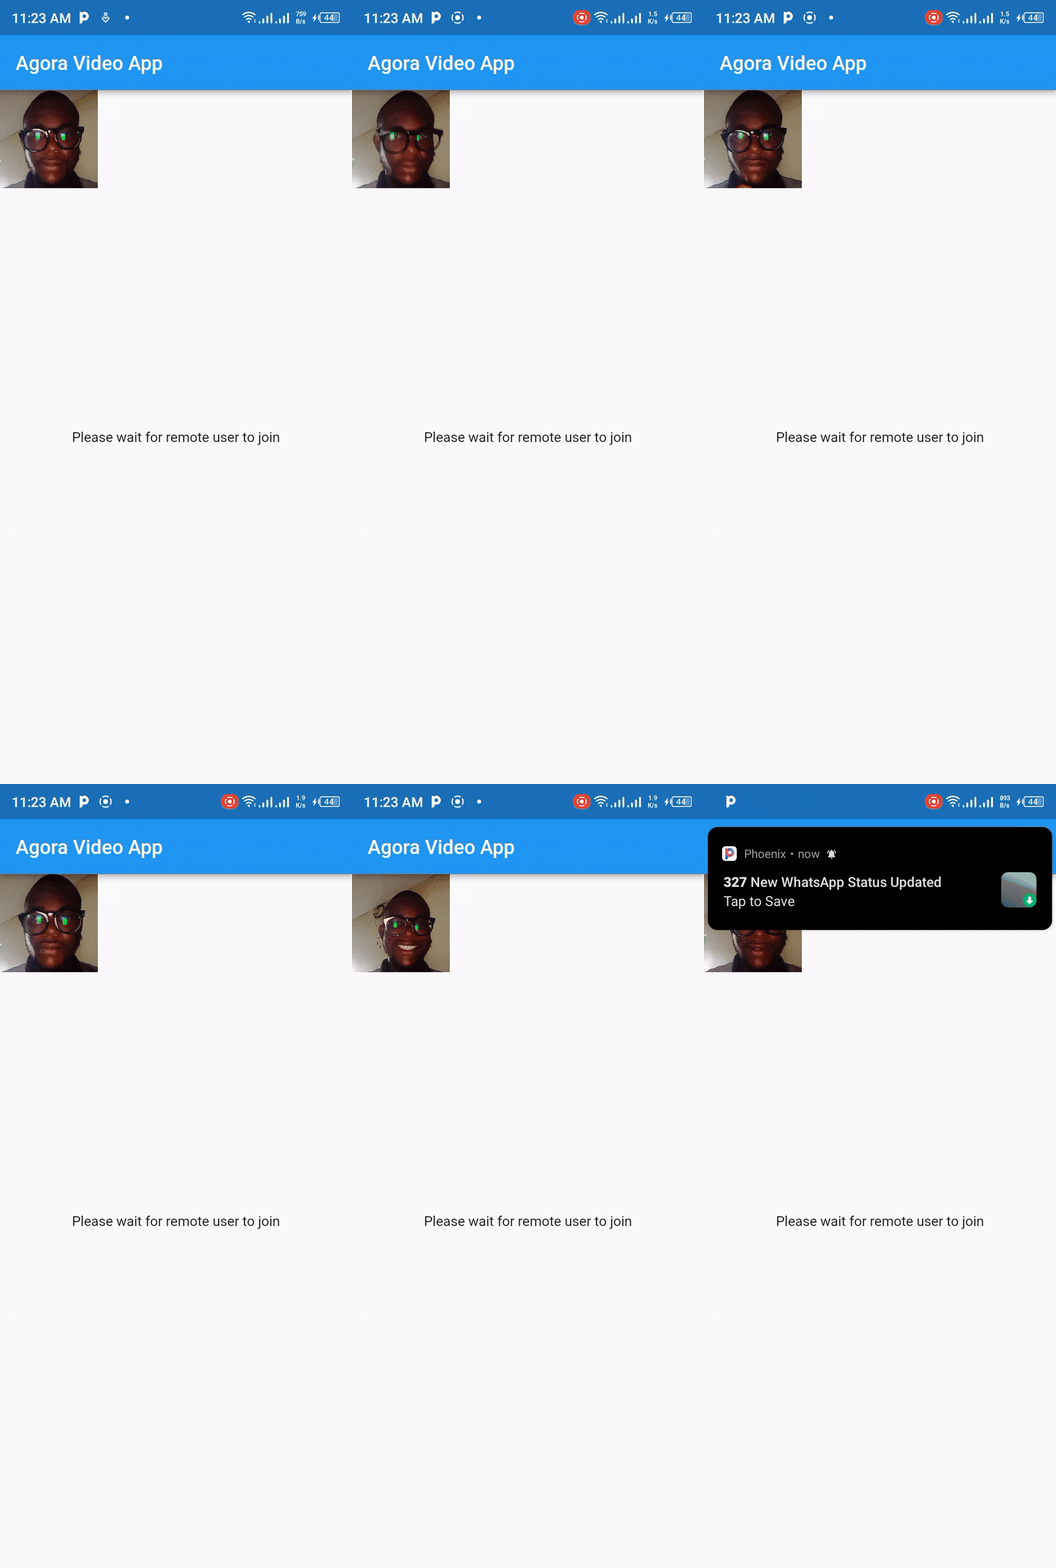
The camera showing my face is the local view of the app. we don't have a
receiver 😏yet, But you see the text saying Please wait for remote user to join right? That accounts for the receiver view.
It was quite a journey, right 😏? Thanks for sticking around till the end 🤗, I hope you find this article helpful.
Shalom 👋🏿

